
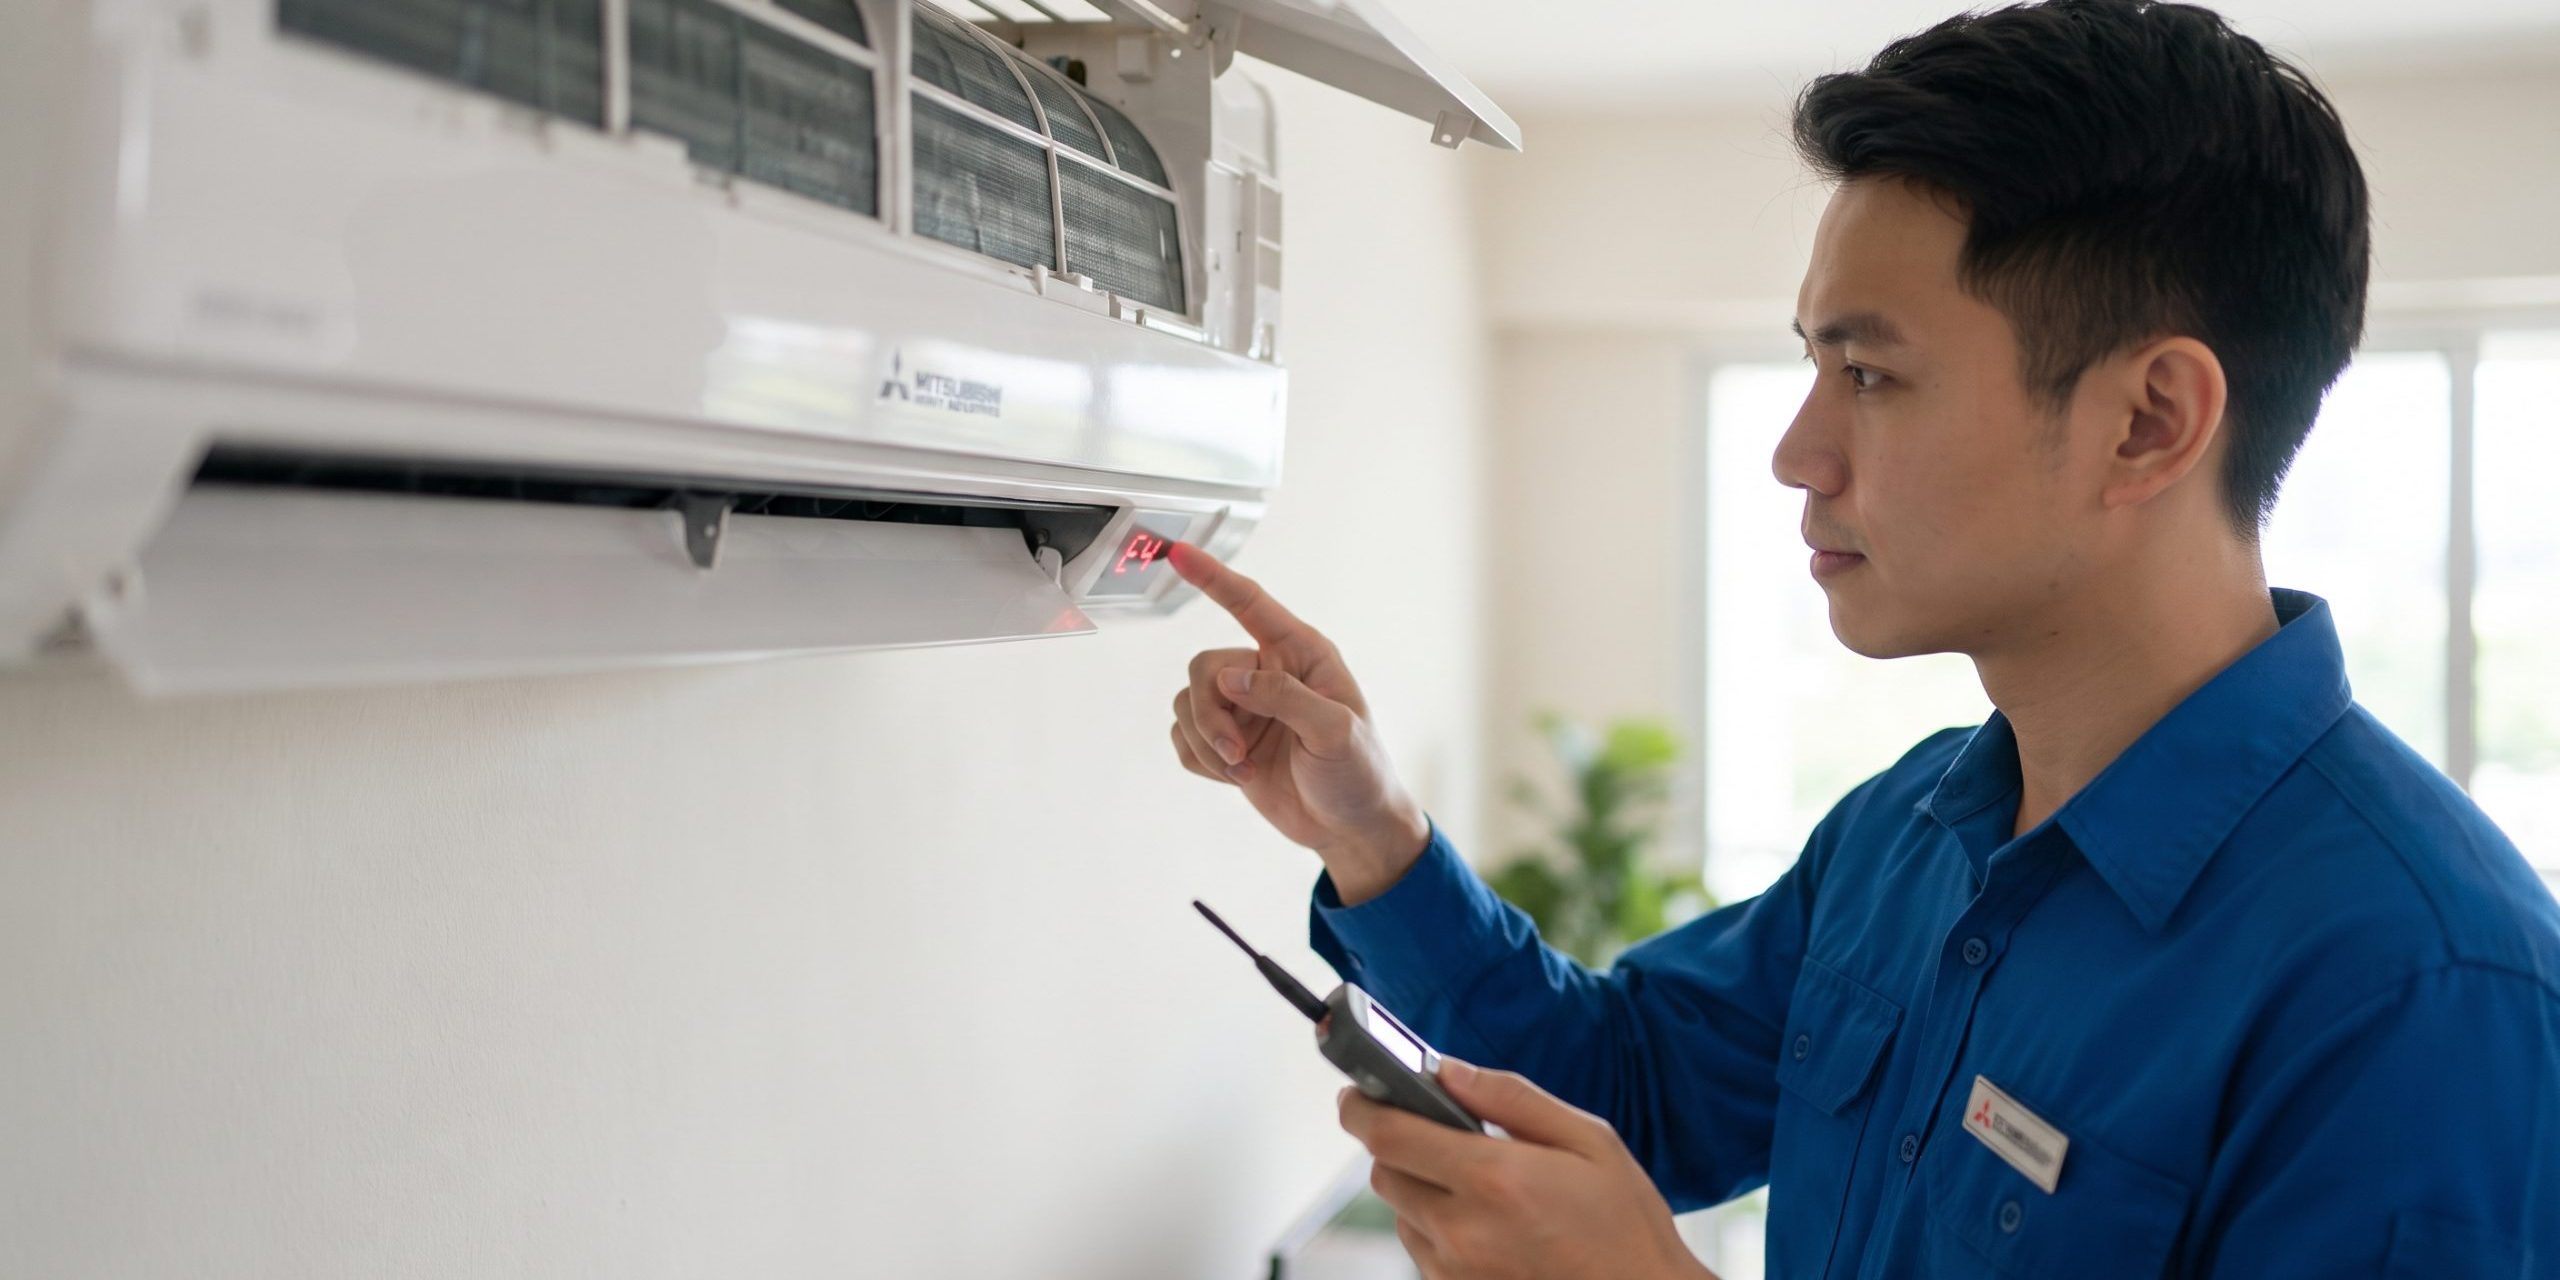
When your Carrier air conditioner experiences a technical fault, the system displays specific alphanumeric error codes on the indoor unit’s LED screen or wired controller. Understanding these diagnostic codes helps you quickly determine whether the issue is a minor maintenance task or a major component failure that requires professional repair.
Error Code Overview & Categorization
Carrier organizes error codes into four main prefix series, each representing a specific component group or circuit domain:
- E Series (System & Communication Errors): Focuses on indoor main board memory, indoor temperature sensors, fan speed control, and indoor-to-outdoor unit communication failures.
- EC Code (Refrigerant Leakage): Dedicated alert indicating gas pressure loss or a refrigerant leak in the system lines.
- F Series (Outdoor Sensors & Components): Highlights faults in outdoor ambient/condenser sensors, outdoor EEPROM memory, or outdoor fan motor operation.
- P Series (Protection & Inverter Faults): Identifies critical protection trips, including IPM inverter module errors, voltage fluctuations, and compressor overheating.
How to Read & Reset Carrier Error Codes
Step 1: Read the Display Code
- Locate the digital display on the indoor unit panel or wired wall controller.
- Take note of the letter and number combination (e.g.,
E1,EC,P0). - If the code flashes intermittently, capture a short 10-second video for technician reference.
Step 2: Perform a Hard Power Reset
- Turn off the air conditioner using the remote control.
- Switch off the main circuit breaker or outdoor power isolator switch.
- Wait 5 to 10 minutes to allow the control board capacitors to completely discharge.
- Restore power at the breaker switch and turn on the air conditioner.
- Evaluate the outcome:
- Code Cleared: The error was likely a temporary power spike or transient communication glitch.
- Code Returns Immediately: An active hardware, sensor, or pressure fault persists and requires troubleshooting.
Comprehensive Error Code Reference Table
| Code | Meaning / Primary Cause | Severity | Recommended Action | Typical / Estimated Cost (SGD) |
| E0 | Indoor unit EEPROM parameter error | High | Reprogram or replace the indoor PCB main board. | $180 – $350 |
| E1 | Indoor / Outdoor unit communication failure | High | Check outdoor isolator power switch; inspect interconnecting signal wiring. | $80 – $250 |
| E2 | Zero-crossing signal detection error | Medium | Power supply frequency fault or indoor PCB power supply circuit issue. | $150 – $300 |
| E3 | Indoor fan motor speed out of control | High | Inspect blower wheel for physical blockage; replace fan motor or capacitor. | $180 – $350 |
| E4 | Indoor room temp sensor ($T_1$) open/short circuit | Medium | Replace defective room temperature thermistor sensor. | $120 – $180 |
| E5 | Evaporator coil temp sensor ($T_2$) open/short circuit | Medium | Replace evaporator coil copper thermistor sensor. | $120 – $180 |
| EC | Refrigerant leakage detected | Critical | Turn off unit immediately. Perform pressure test, repair leak, and recharge gas. | $180 – $380+ |
| F1 | Outdoor ambient temp sensor ($T_4$) error | Medium | Inspect and replace outdoor ambient thermistor. | $130 – $200 |
| F2 | Condenser coil temp sensor ($T_3$) error | Medium | Replace outdoor condenser coil temperature sensor. | $130 – $200 |
| F3 | Compressor discharge temp sensor ($T_5$) error | High | Replace discharge sensor immediately to prevent compressor thermal destruction. | $130 – $220 |
| F4 | Outdoor unit EEPROM parameter error | High | Reprogram outdoor memory chip or replace outdoor main PCB. | $250 – $550 |
| F5 | Outdoor fan speed out of control | High | Clear debris from outdoor fan blades; replace outdoor fan motor. | $200 – $380 |
| P0 | IPM module malfunction / Over-current protection | Critical | Check outdoor ventilation; test inverter module; replace outdoor inverter PCB. | $300 – $600 |
| P1 | Over-voltage or under-voltage protection | High | Inspect incoming electrical voltage; check main power board. | $100 – $300 |
| P2 | Compressor top temperature protection | Critical | Shut off unit immediately. Inspect refrigerant levels and compressor thermal jacket. | $180 – $650 |
| P4 | Inverter compressor drive position error | Critical | Inspect inverter drive board and compressor terminals. | $350 – $700 |
DIY vs. Professional Repair Matrix
🟢 Safe to DIY (Basic Troubleshooting)
- Dirty Air Filter / Air Flow Issues (
E2,E3initial checks):- Clean washable mesh filters under warm tap water.
- Ensure return air vents and louvers are completely unobstructed.
- Basic Power & Isolator Checks (
E1,P1initial checks):- Verify the outdoor power isolator switch is flipped to the ON position.
- Check home circuit breaker panel for tripped breakers.
- System Hard Reset:
- Perform a 5-minute breaker power reset to clear transient power spikes.
🔴 Requires Professional Repair
- Refrigerant Leak Repairs (
EC): Requires nitrogen pressure testing, leak sealing, vacuuming lines, and gas charging. - Inverter Board & EEPROM Repairs (
P0,P4,E0,F4): High-voltage board replacement, soldering, or EEPROM reprogramming. - Sensor & Thermistor Replacements (
E4,E5,F1,F2,F3): Internal component access and electrical connector testing. - Fan Motor Replacements (
E3,F5): Disassembly of housing, motor bracket removal, and wiring integration.
⚠️ CRITICAL WARNING FOR HIGH-SEVERITY CODES (
EC,P0,P2,P4)Continuous operation under Refrigerant Leak (
EC), IPM Failure (P0), or Compressor Overheat (P2) can lead to irreversible mechanical burnout of the compressor motor. If any of these codes persist after a power reset, immediately switch off the unit at the isolator switch and contact a certified HVAC technician.